Day 1: Server Installation
Let’s start with our new step by step series about Lights-Out. Today we will have a look at the server installation.
If you are migrating from an existing version 1, be sure to read about the migration details in the online manual. The installer will automatically import your old settings, if you want to start clean, read the manual.
Server installation is done with a new unified installer
Lights-Out 2.0 introduces a new, unified installer. You do no longer have to use different setups for different platforms. In 2.0, one installer is used for all supported platforms. If the installer detects a Windows Server Essentials or Home Server, it will automatically install the Dashboard integration.
Run the installer with a double click on the setup file:
LightsOut2.Installer.2.0.0.xxxx.exe
The installer will load and display a startup dialog
and then ask for the setup language. Currently choose between English and German:
Now the setup checks if all prerequisites are present. Lights-Out depends on .Net Framework 4.5.2. This should be on your machine. Otherwise the server installer will download and install .Net Framework first.
Click Next to start the installation.
This is all pretty standard.
At the end of the installation process, SSL certificates are configured for your server. This step is really important, and therefore we will go into more details tomorrow in “Day 2, SSL certificates and LAN/WAN access”.
For now, we will keep it simple and use the defaults.
Lights-Out encrypts the communication between the service on the server and the client computers, as well as the communication with the management console. This requires that SSL certificates are used to secure the communication.
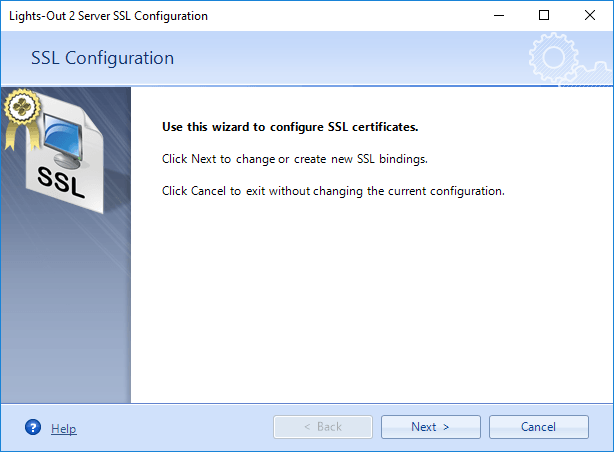
The SSL Wizard
To create and manage SSL certificates, Lights-Out includes a SSL Wizard. This wizard offers experienced users to (re)use existing certificates. If you run a Windows Server Essentials or a Home Server, then you also have existing certificates which can be used by Lights-Out. More in this topic tomorrow.
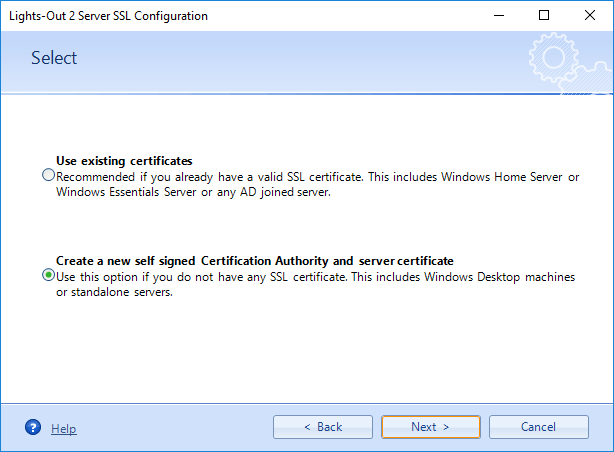
Click Next, the wizard shows the current bindings. Because this is your first installation, there is no existing binding configuration. Click Next again. Now you see the two choices. Select to create new certificates.
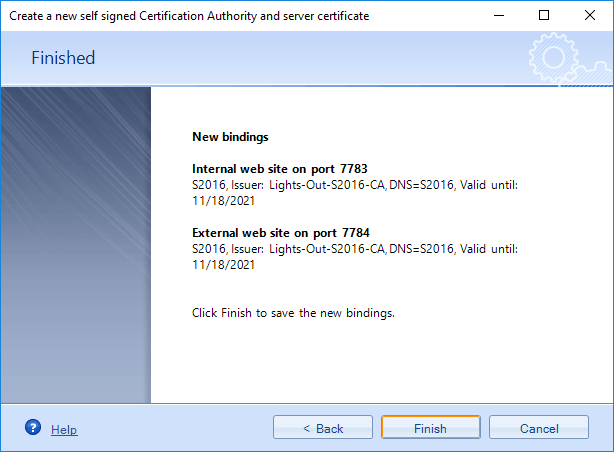
Click Next and Next and Next until you see the created certificates and the new binding. Now click Finish to save that binding.
The installer completes and shows the final dialog:
Click Finish to end the server installation. This will automatically start either Dashboard or Management Console.
The Management Console will start up and present a login dialog.
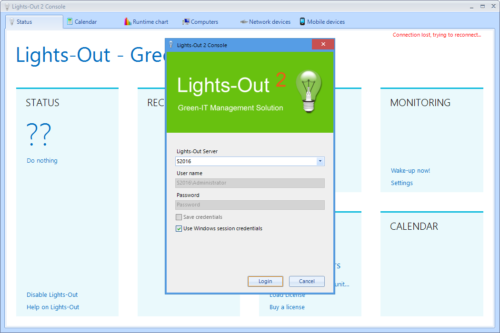
Select Windows Authentication and click on Login.
Summary
That’s it. You just finished the first day and installed Lights-Out in your server!
Here you will find the complete list of all days of our step-by-step series.




March 25, 2017 @ 10:53 pm
After installation, I am unable to log-in. The Management Console login dialog box denies my domain administrator account, both manually typing and using windows sessions credentials. Also, I get a message in left hand bottom corner, stating “Connection lost, trying to connect..”
thank you
March 27, 2017 @ 6:28 pm
Windows sessions credentials must work unless you run into an SSL error. However, the first login may need 30-60 seconds until it works. Lights-Out has to build the users list on the very first start. If the problem persists, please post in the forums at http://forum.home-server-blog.de/viewforum.php?f=94 and give us the exact error you see in the login window.
Regards
Martin
July 10, 2017 @ 8:58 pm
I’m planning to build a home server using parts from an older computer running Windows 7 Pro. Can I use the latest Lights-Out on a Windows 7 server or does the home server machine have to run on a server OS?
July 10, 2017 @ 10:55 pm
Hi Joe,
Windows 7 is supported as client and server system.
Regards
Martin
December 12, 2017 @ 11:18 am
I am asking if a lights out version 2.0 server part will work with the Qnap 853 series NAS?
regards
Lee
December 12, 2017 @ 3:22 pm
Hi Lee, if you want to install Lights-Out on the QNAP, then short answer: no.
Long answer: We planned to add support for Synology and QNAP NAS systems but run into show stoppers with Mono. So currently that’s on hold.
You can only add the QNAP as a network device but it will probably always report active (at least that’s what Synology is doing).
Regards
Martin