|
Lights-Out for Windows 7, 8 and Windows Server
|
   |
   |
Install add-in on Windows Computers on the network
|
Lights-Out for Windows 7, 8 and Windows Server
|
|
|
How to install Lights-Out on Windows Computers on the network
Installing Lights-Out on the WHS creates a new share \\Server\Lights-Out.
This share contains the client installer LightsOutClientInstaller.exe.
Open and install this file on every client computer which should access your WHS.
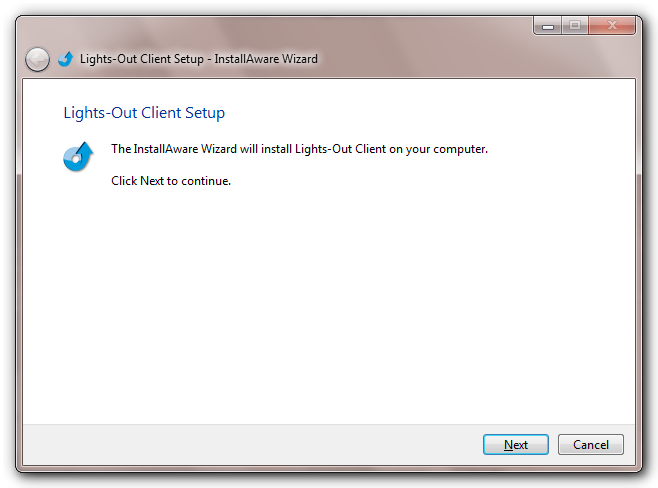
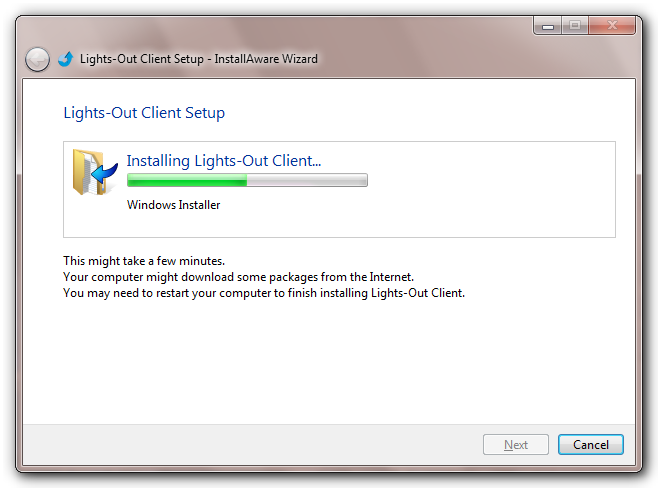
Step 2, Installation
Step 3, Join client to server.
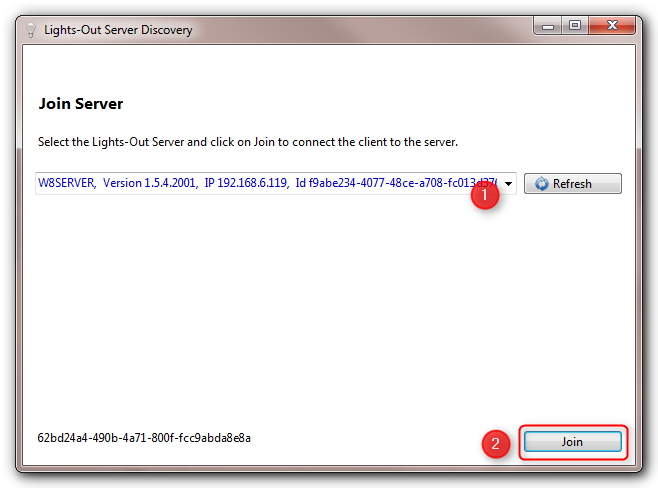
Select your server in the combo box (1) if you run multiple servers, otherwise use the selected server, then click on Join (2).
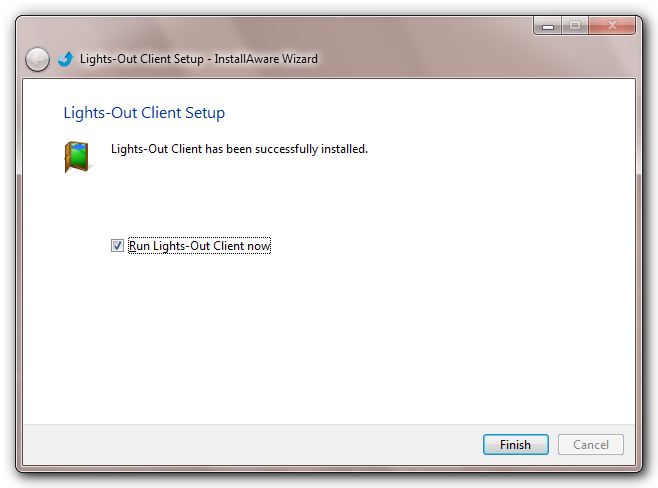
Step 4, Installation is finished
A licensed version of Lights-Out will automatically update all clients.
Users of the Community Edition have to rerun LightsOutClientInstaller.exe. A previous version is automatically detected and uninstalled.
Use control panel -> Programs and Features
|
Copyright (c) Martin Rothschink, AxoNet Software GmbH 2008-2015
|
|
What do you think about this topic? Send feedback!
|