|
Lights-Out for Windows Server Solutions 2011/2012
|
   |
   |
Install add-in on Windows Computers on the network
|
Lights-Out for Windows Server Solutions 2011/2012
|
|
|
How to install Lights-Out on Windows Computers on the network
Go to Lights-Out, Computers and wake all inactive machines. Right click and select Wake up.
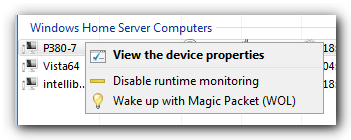
Wait until all machines are active, now check the version number in the right column. Outdated versions are displayed with a warning symbol.

When you have outdated machines, start that machine, wait until machine is online, then go to Add-Ins and click on "Install the add-in on computers on the network"
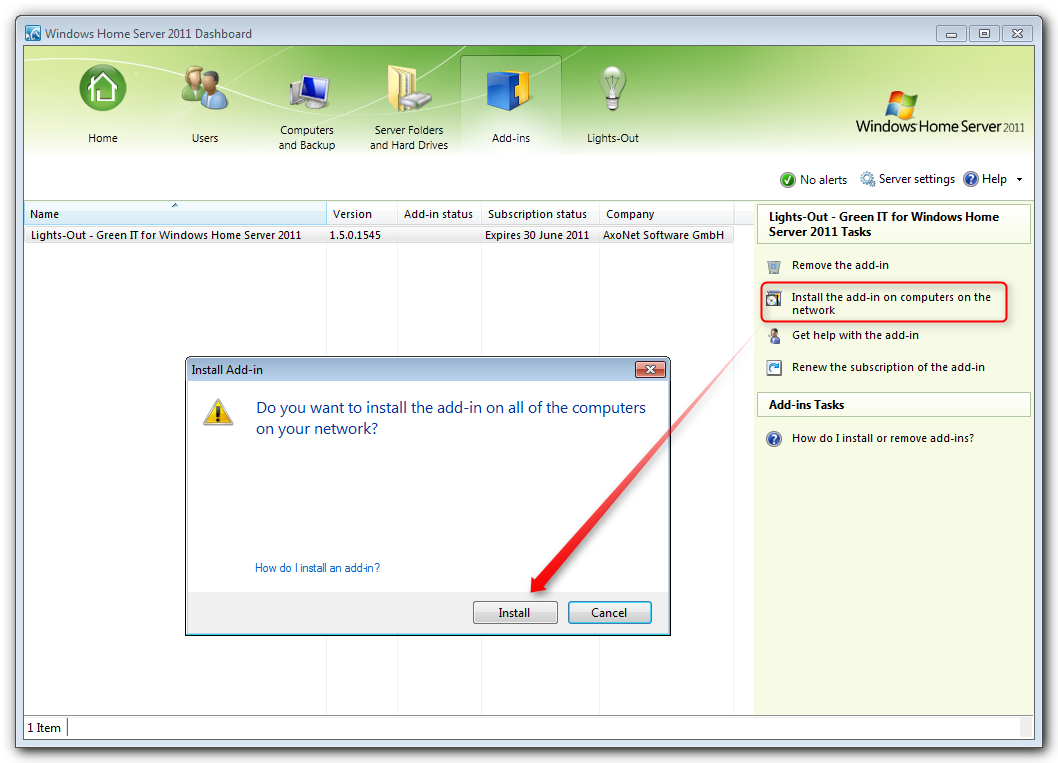
Confirm Install and wait for finish dialog.
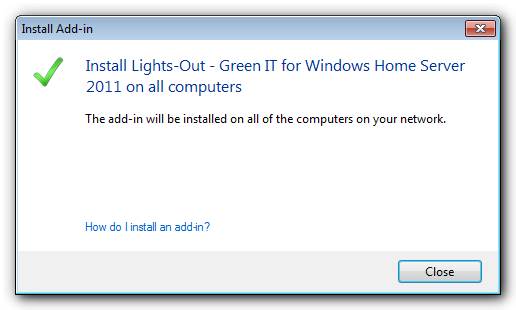
Now change back to computers and verify that all computers show the up-to-date version number

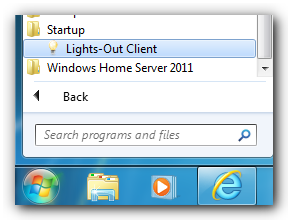
As final step run the Client GUI on your machine. This happens automatically when you log in the next time but immediately after install you have to do this now. Click on Start -> All programs -> Startup then select Lights-Out:
For troubleshooting steps see here.
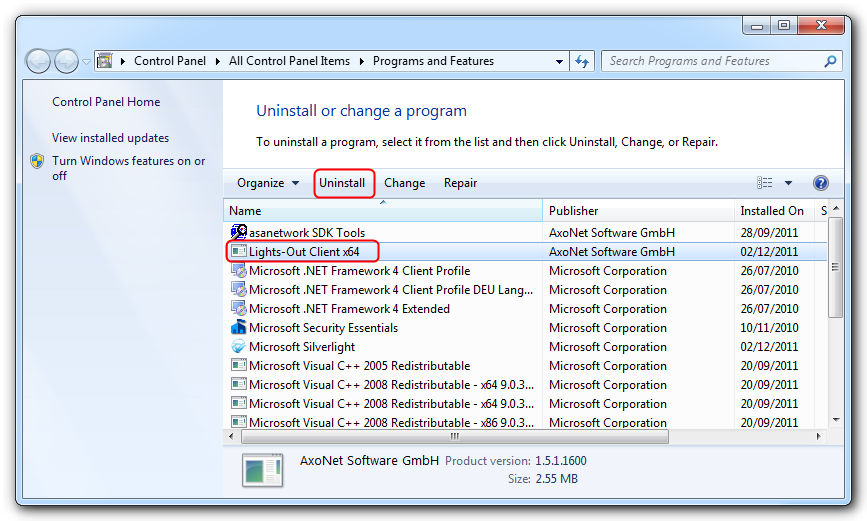
The client-add-in is automatically uninstalled when you remove Lights-Out on the server. Otherwise open Control Panel, Programs and Features, then remove the Lights-Out client package:
|
Copyright (c) Martin Rothschink, AxoNet Software GmbH 2008-2015
|
|
What do you think about this topic? Send feedback!
|